Control Points and Checkpoints
What are Control Points?
Control points are objects or entities with information considered to be the "truth" that serve as references in different ways. This is especially important in situations where precision mapping and true global accuracy are needed, as you will be able to pull your raw dataset to the precise geolocations based on the control points.
What does it do with my aerial capture data?
DataHub's processing pipeline accepts two types of control points:
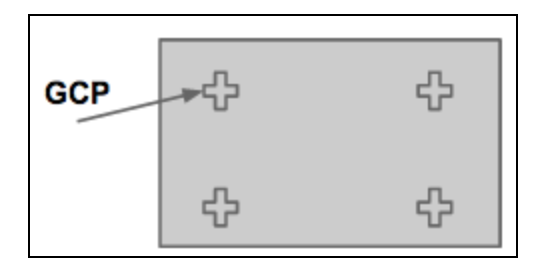
- Ground control points (GCPs)
- Checkpoints (CHPs)
1. GCPs are used during the data processing step to accurately georeference and calibrate your images. Once you have determined the survey-grade coordinates at the center of each point, they serve as reference points to accurately align your digital maps with real-world measurements during processing. Standard GPS data can have a margin of error of up to 1m, depending on conditions at the site, so GCPs are recommended in the absence of PPK/RTK correction if highly accurate data is needed.
2. CHPs are not taken into account for processing and calibrating your models; CHPs’ coordinates are used to assess the accuracy of your project by comparing its true predetermined locations with the positions of processed ground control points. CHPs help you see the amount of error in a project.
How should I lay and distribute my control points in my next project?
The process of laying both types of control points (GCPs and CHPs) is the same. Follow these steps to lay your control points:
- Determine the altitude of your mission. When flying higher than 40 meters above ground level (AGL), use large-sized (46”x46” or more) targets so that they can be seen clearly in the images. When flying at or below 40 meters AGL, you may use smaller-sized targets.
- Place a minimum of 4 GCPs around the perimeter of your site. Depending on the size of your site and its terrain, you may need to place more GCPs within the site itself. There’s no set distance for GCPs to be apart, but make sure they’re spaced far enough apart to avoid confusion.
- Place CHPs around your site. It is up to your discretion to place CHPs around the site as needed.
Common Mistakes in Control Point Layout
- Excessive shade or glare can make your control points difficult to identify on your map.
- Make sure your control points are unobstructed by placing them on flat surfaces and in open spaces. For example, do not lay control points underneath trees.
- If your area of interest has significant elevation changes (hills, rocks, valleys, mines, etc.), not placing at least one control point on each of the different elevations can compromise the accuracy of your map.
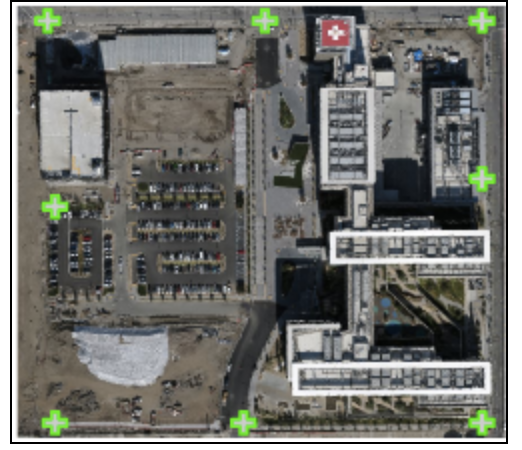
Example of proper placement of GCPs around the perimeter of the site:
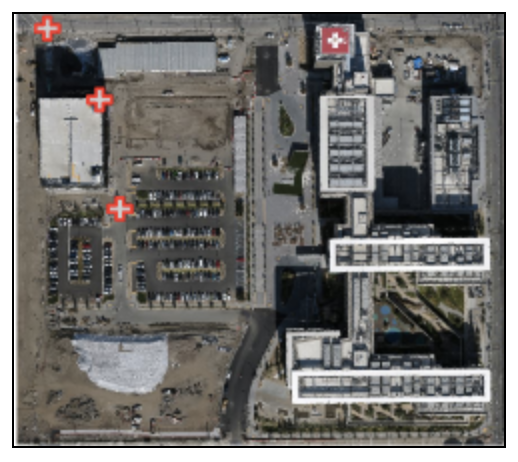
Example of improper GCP placement:
How to Measure Control Point Coordinates
The accuracy of your outputs depends on the accuracy of your control points. With this in mind, we highly recommend using survey-grade equipment to measure the coordinates of your control points.
If you are certified to do accurate surveys, you may use your own survey instruments to measure the coordinates of your control points. As an alternative, you may also hire a surveyor to measure your control point locations.
Still, Having Trouble?
Send us a message at support@skycatch.com!
Comments