PREREQUISITES
- DJI M300
- DJI Controller
- The latest Firmware update (DJI Pilot 2 app)
- Stable internet connection
Note: The DJI M300 should be on and the DJI Pilot 2 should connect and have the latest firmware update.
PROCEDURES
1. Launch the DJI Pilot 2 application and select the "Flight Route" option situated on the left side of the screen.
2. After selecting the "Flight Route" option, you will have two options: either you can create a route by tapping "Create a Route", or you can import a KML or KMZ file that you previously created on your computer by tapping "Import Route."

3.. Once you've chosen "Create a Route," simply tap the screen to designate and create a mapping area.

4. After designating a mapping area, click on 

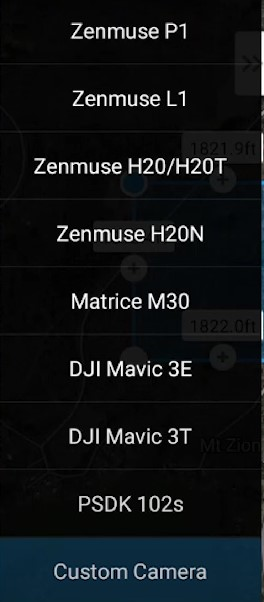
5. In the Select Camera menu choose the camera that is currently attached to the DJI M300.
6. To enable the Terrain Follow feature, toggle it on. When activated, the drone will autonomously follow the terrain according to your flight plan.

7. After enabling Terrain Follow, tap the option labeled "Select DSM file" and then click on the "+" icon. This will present you with two choices: "Import Local File" and "Download from the internet"


If you select "Download from the Internet," the application will automatically initiate the download process and will wait until you receive a prompt indicating "Terrain data downloaded successfully."
NOTE: The DSM data obtained from the internet relies on AsterGDEM data to provide you with precise terrain information.
8. Once the download process has finished, the terrain information will be displayed, featuring a flight plan along with a scale bar indicating the altitudes of the areas within the flight route.
Comments